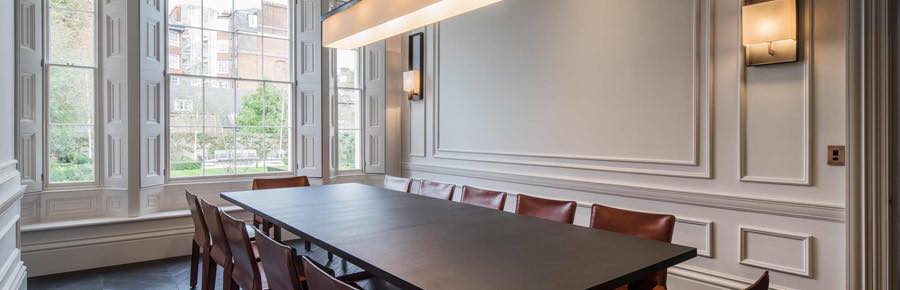
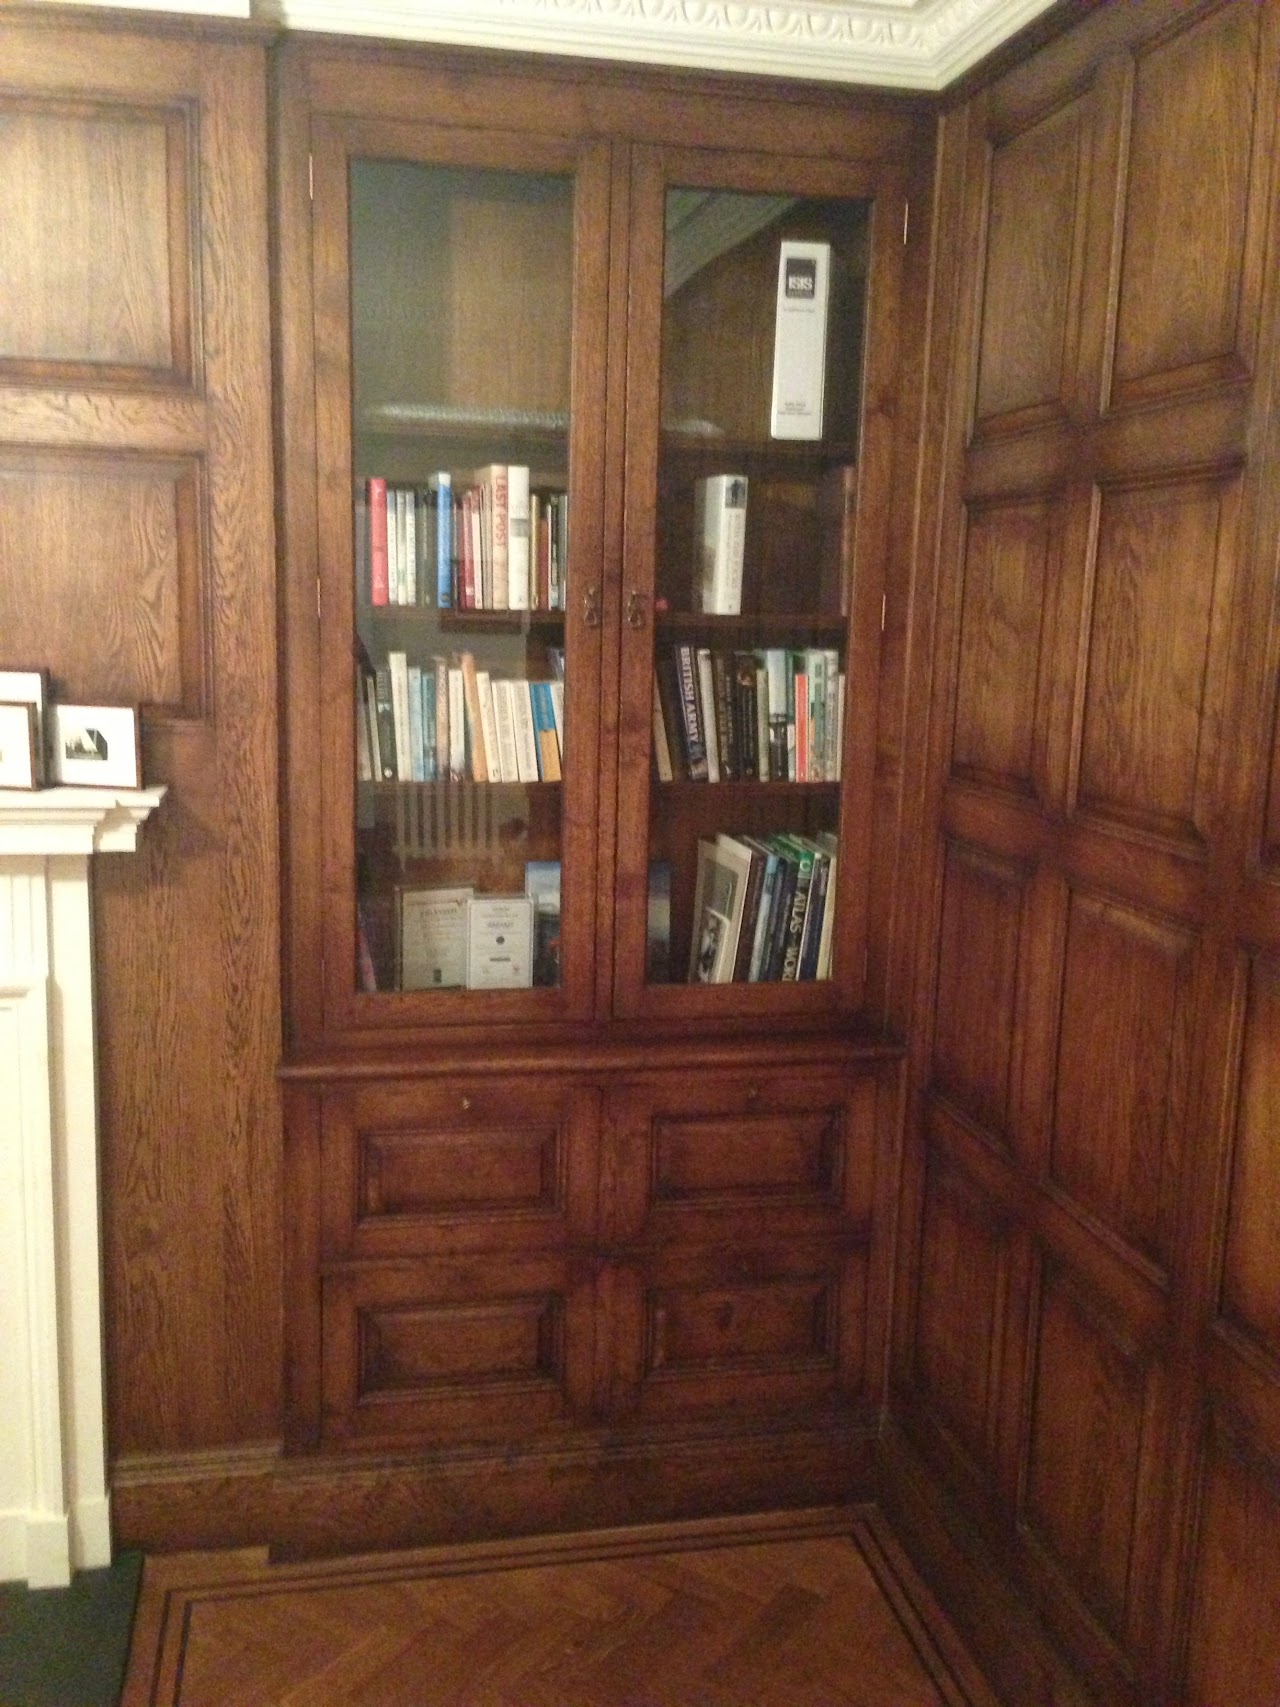
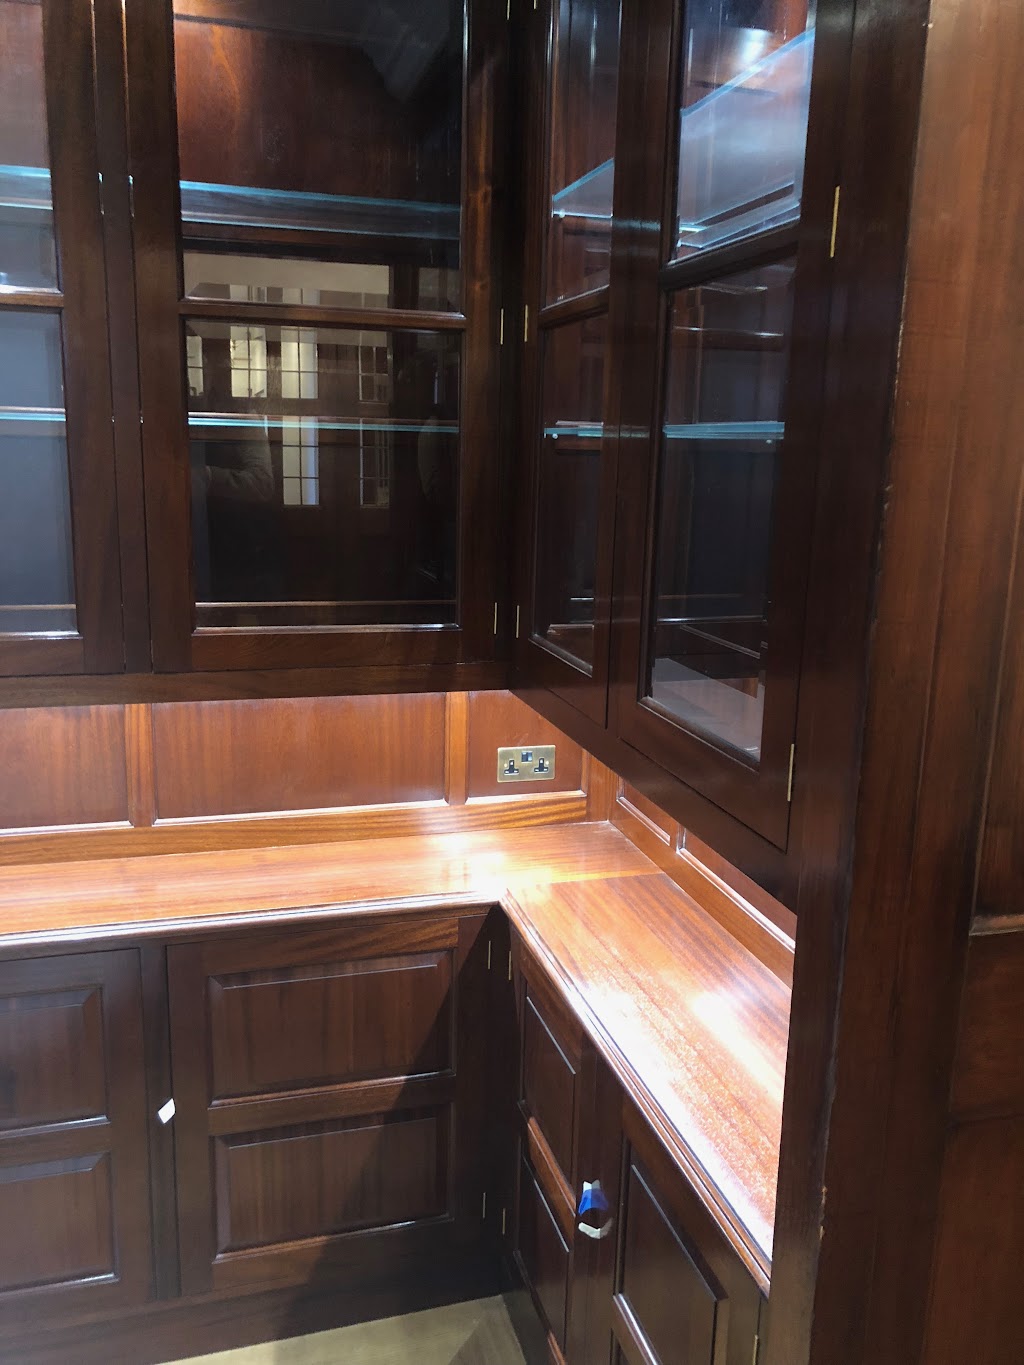
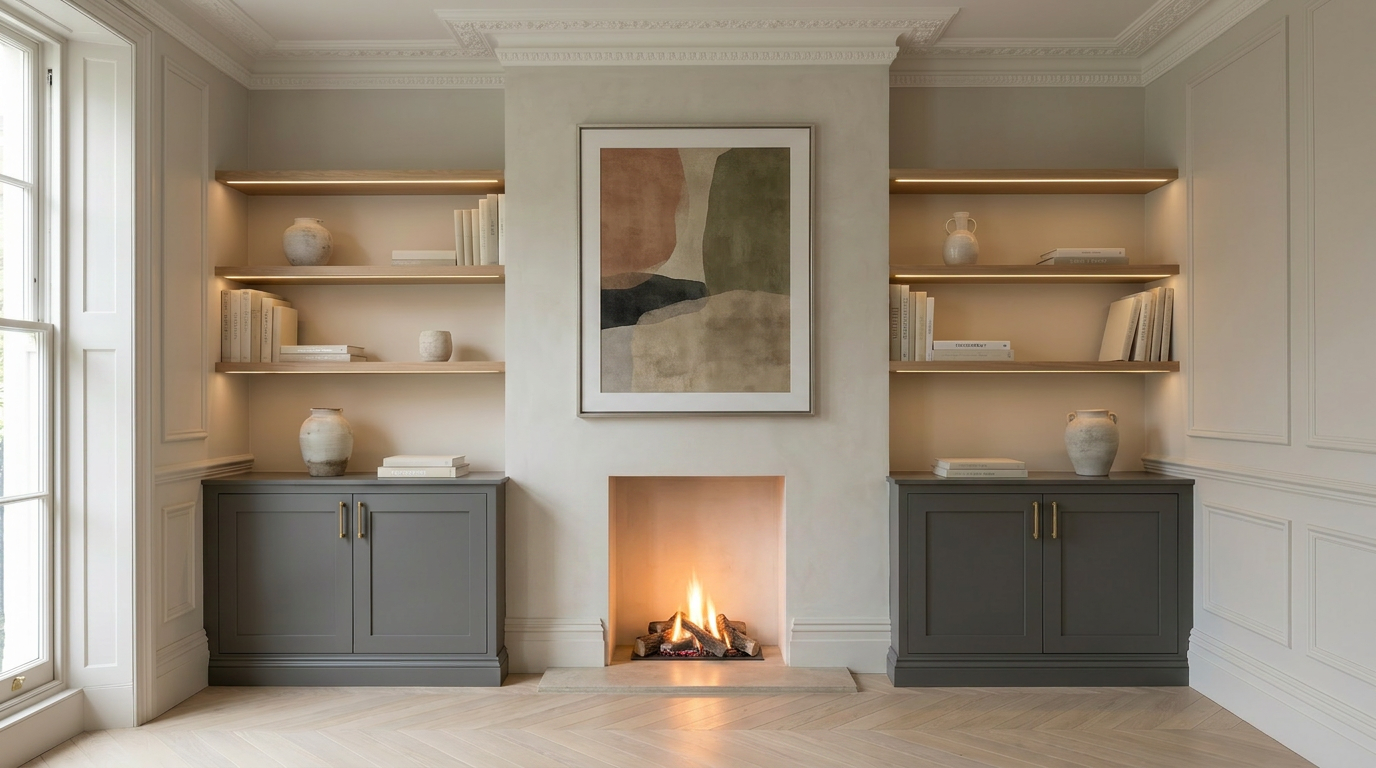
Working in a period or listed home is a privilege and a responsibility. The joinery has to feel as though it has always been there, while quietly meeting modern expectations. Here is how we approach it.
Match the house, not the catalogue
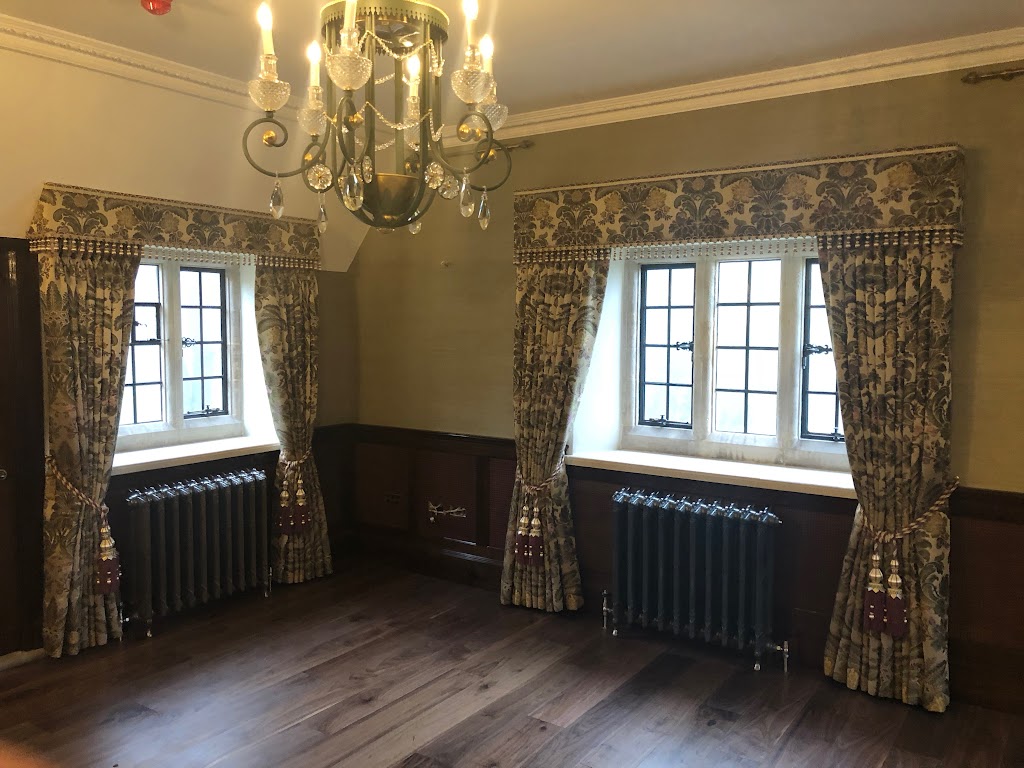
Period homes have their own grammar — the depth of a skirting, the profile of an architrave, the proportions of a panelled door. We take details from what already exists and carry them through new work, so a fitted bookcase or a replacement window reads as part of the original fabric rather than an addition.
Know where consent is needed
In a listed building, even seemingly minor changes to joinery can require listed building consent, and conservation areas bring their own controls. We are happy to make to match approved details, but the consents themselves are a matter for you and your architect or conservation officer. It is always worth confirming before work begins — this is general guidance, not formal advice.
Marrying old and new
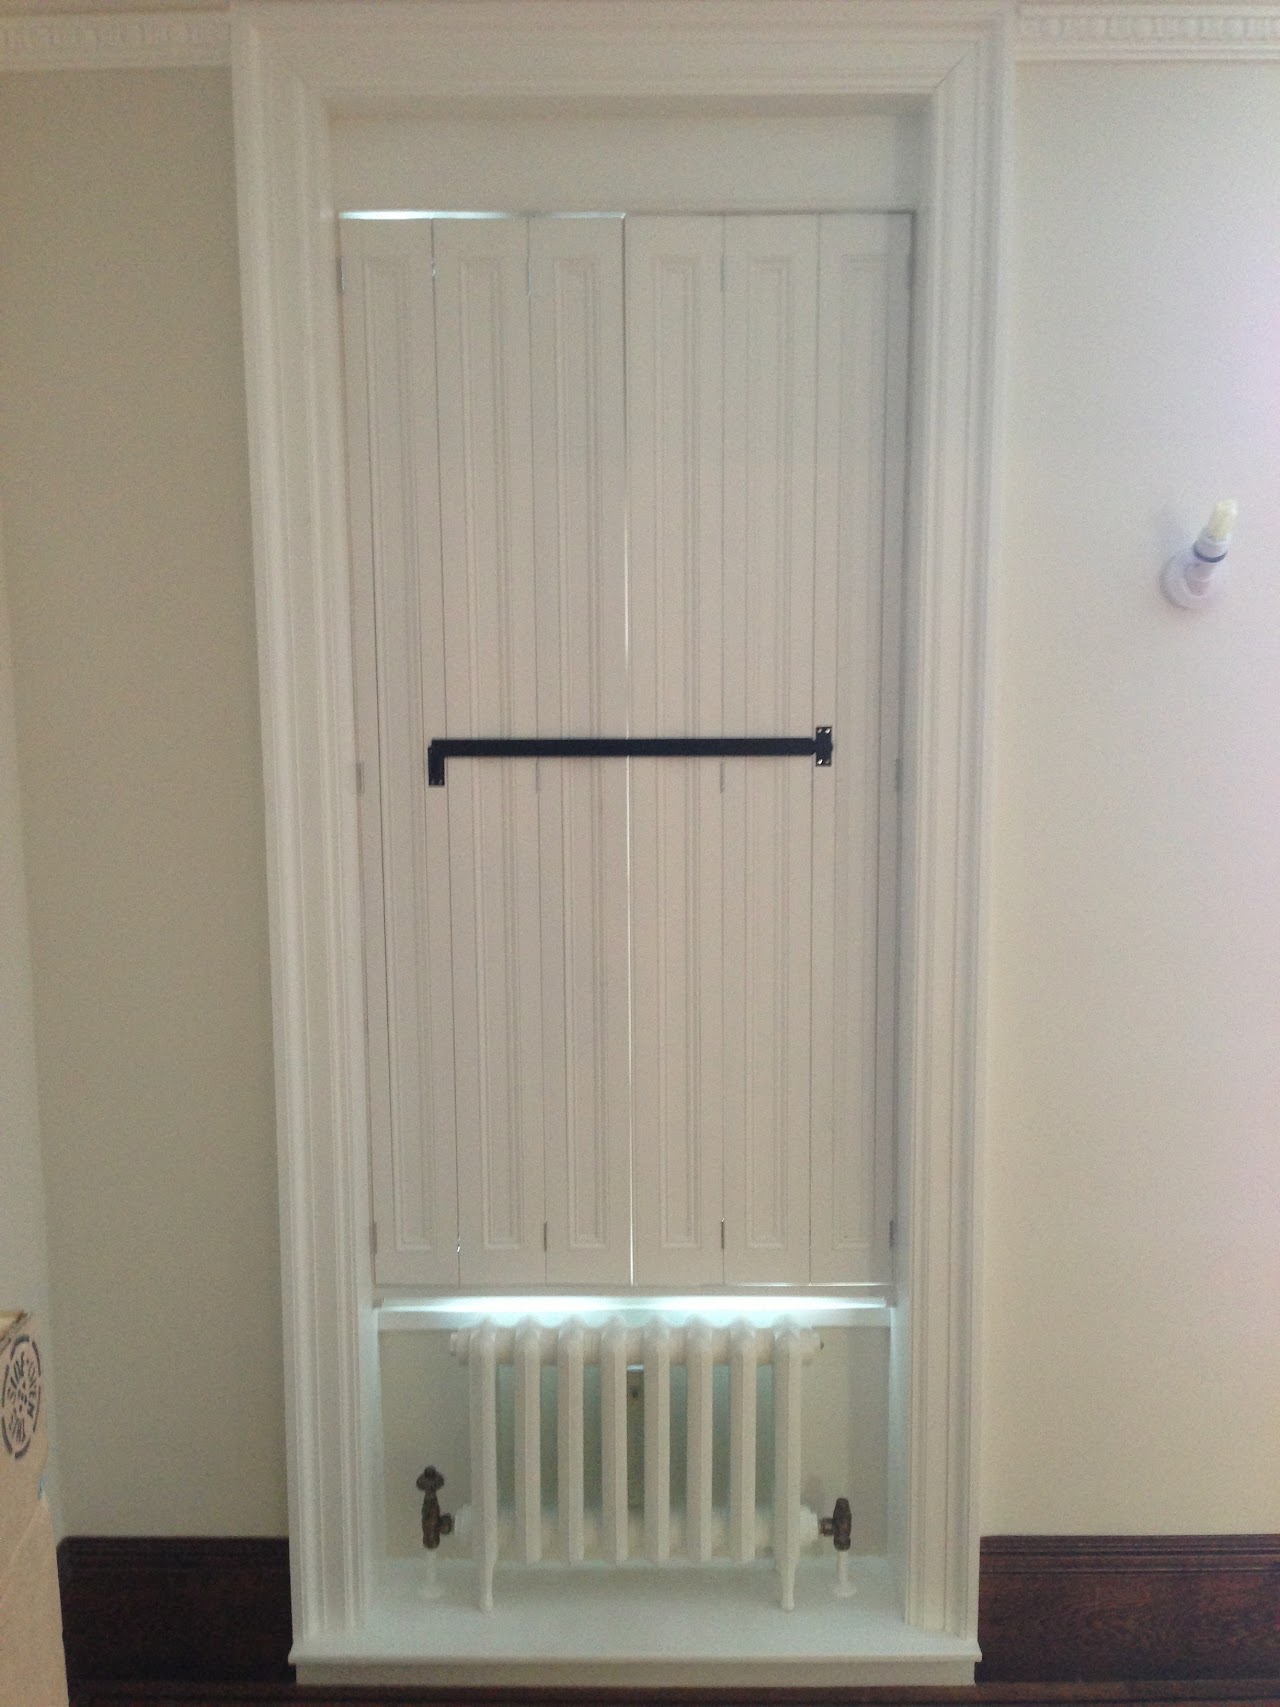
Sympathetic does not mean frozen. Concealed storage, discreet AV, better-performing windows and improved insulation can all be achieved within a traditional appearance. The craft lies in hiding the modern parts inside convincing period detail.
Built to last another century
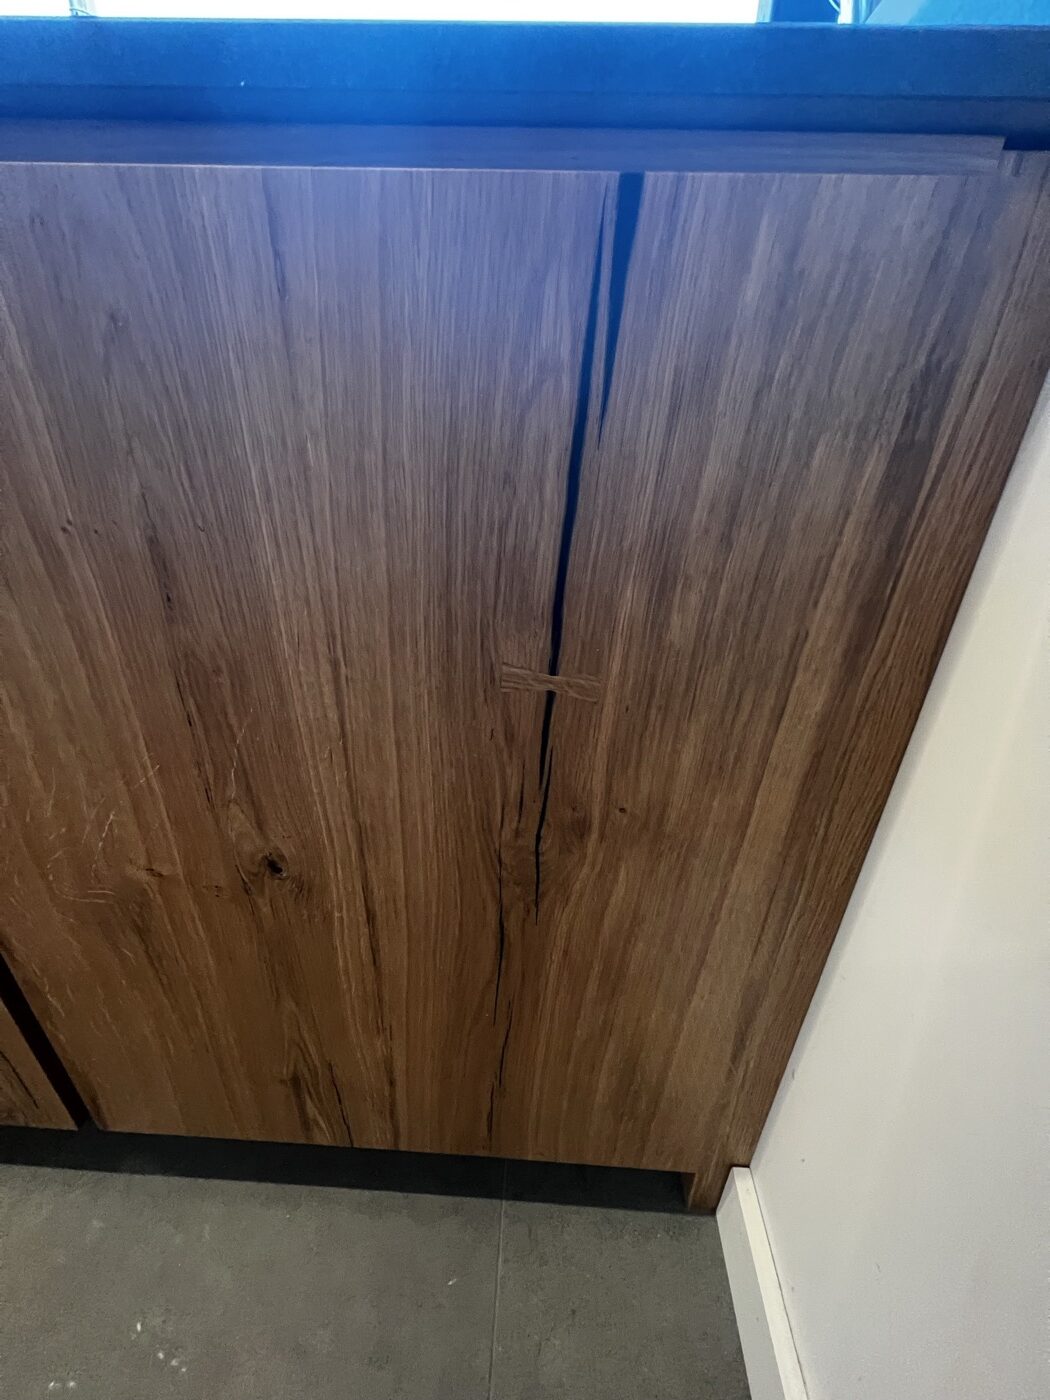
We select stable timber, match grain and mouldings, and finish to a standard that will age gracefully. Good joinery in an old house should outlive all of us.
See sympathetic work in period and country homes across our case studies, or talk to us about your project.
A staircase is the one piece of joinery you see from the moment you walk in, and the one everybody touches. Get it right and it sets the tone for the whole house. It is also among the most demanding things we make.
Timber, metal or a marriage of both
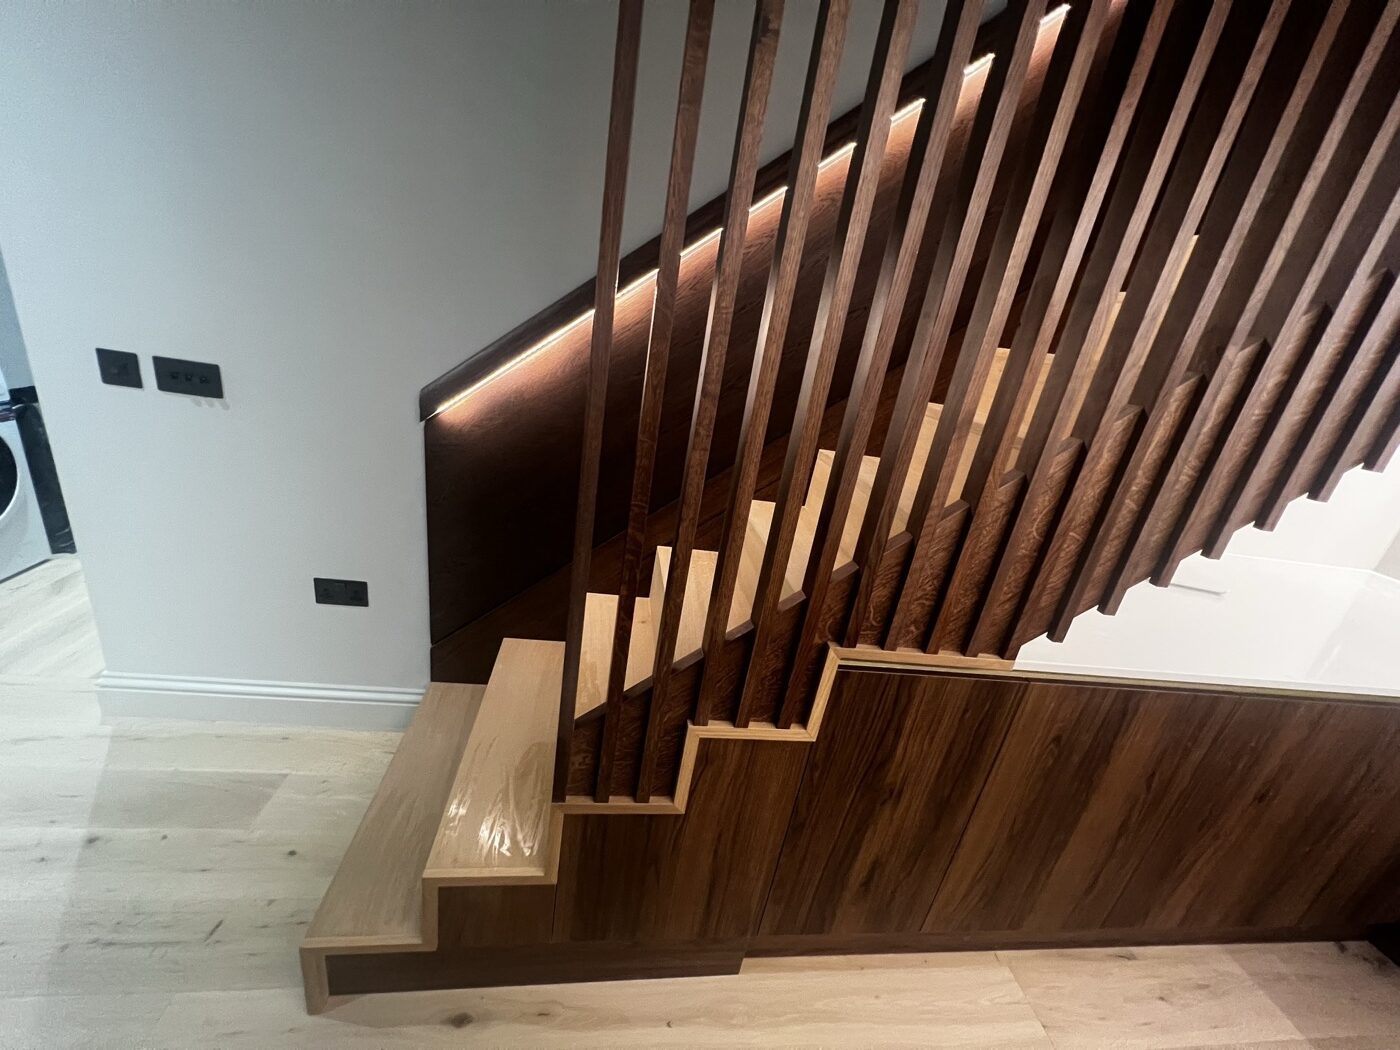
A traditional house may call for a carved oak balustrade with turned spindles; a contemporary one for floating oak treads on a steel spine with a frameless glass balustrade. We make both, and often combine them — the warmth of timber with the slimness only steel allows.
Engineering you do not see
A staircase has to be beautiful and entirely safe. Behind the finish sits careful structural design: how it is supported, how the treads are fixed, how the balustrade meets Building Regulations on gaps and loading. We resolve all of this on paper before anything is made.
Made to the millimetre
Stairs are unforgiving of error, so we survey precisely and make to suit the actual opening. Components are finished in the workshop and installed by our own team, protecting the treads until handover.
If this is the sort of work you have in mind, there is more on how we approach bespoke studies, libraries and home office furniture — all of it drawn, made, hand-finished and fitted by our own people from the workshop at Mickfield in Suffolk.
The boot room is the hardest-working room in a country house, and one of the most satisfying to design. It has to cope with dogs, coats, wellingtons and the weather, and still look the part. A bespoke boot room solves all of that properly.
Plan around the chaos
Start with what actually comes through the door: outdoor coats, school bags, shooting kit, dog leads and muddy boots. Generous hanging, a bench with boot storage beneath, open cubbies and a few lockable cupboards will absorb most of family life. We plan it around your household rather than a standard template.
Materials that earn their place
This is not the room for delicate finishes. Hard-wearing painted joinery, a durable worktop, and a practical floor make the space forgiving. Tongue-and-groove panelling with a generous coat rail is a classic for good reason — it shrugs off knocks and looks better with age.
The useful extras
A dog-washing area, a drying cupboard, charging points, or a discreet utility run alongside can turn a boot room into the true working heart of the house. Planned in from the start, none of it feels bolted-on.
See hard-wearing country-house joinery across our case studies. To talk through a boot room, contact us.
If this is the sort of work you have in mind, there is more on how we approach bespoke studies, libraries and home office furniture — all of it drawn, made, hand-finished and fitted by our own people from the workshop at Mickfield in Suffolk.
One of the first conversations we have on any commission is about timber. It sets the character of the piece, the way it will age, and a good deal of the cost. Here is how we think about choosing timber for bespoke joinery.
Oak: the dependable all-rounder
European oak is hard, stable and forgiving, with a grain that suits both traditional and contemporary work. It takes a limed, fumed or natural-oiled finish beautifully and only improves with age. For most fitted furniture and architectural joinery it is our default recommendation.
Walnut and fine veneers: for drama
Where a client wants warmth and richness — a media wall, a dressing room, a run of library bookcases — walnut is hard to beat. Working in book-matched veneers lets us run the grain across several doors so the figure flows as one. It rewards careful lighting and restrained detailing.
Painted joinery: quiet and architectural
Not everything should shout. A great deal of our work is painted, built from stable paint-grade material and hand-finished so the surface is smooth and durable. Painted joinery lets the form and proportion do the talking, and it sits comfortably alongside period mouldings.
The things that matter beyond the species
Grain selection, stability and how a timber moves with the seasons matter as much as the name on the order. We select and condition our material, build on well-made carcasses, and finish in the workshop so pieces arrive ready to install cleanly. It is the unglamorous detail that makes joinery last for decades.
See the range of timbers and finishes across our recent work, or talk to us about a commission.
If this is the sort of work you have in mind, there is more on how we approach bespoke studies, libraries and home office furniture — all of it drawn, made, hand-finished and fitted by our own people from the workshop at Mickfield in Suffolk.
Done well, wall panelling settles a room. Done carelessly, it fights it. The difference is rarely the budget — it is proportion, the quality of the mouldings, and how the panelling meets doors, windows and skirtings. After many years making it, here is what we look at first.
Start with proportion, not pattern
The most common mistake is dropping a standard panel grid onto a wall regardless of its size. We set out panelling to the room: the dado height relates to window cills and chair backs, the panel widths are balanced so you never end up with an awkward sliver in a corner, and the rails align with door heads where possible. It is quiet work that nobody notices — which is exactly the point.
Choose the right style for the house
A Georgian drawing room asks for fielded panels and run mouldings; a contemporary apartment may suit flat, shadow-gapped panels with no moulding at all. Both are panelling; they simply speak different languages. We will always steer a scheme towards what the architecture is already telling us, rather than imposing a look.
Material and finish
Most painted panelling is built from a stable, paint-grade timber and MDF combination, chosen so it will not move and crack along the joints. Where the panelling is to be stained or left natural — oak, walnut or a fine veneer — the carcassing and the grain matching matter a great deal more. Finishing is done in controlled conditions so the surface is even and hard-wearing.
Where panelling earns its keep
Panelling is also the most elegant way to hide things: a jib door into a cloakroom, a concealed cupboard, integrated lighting or a media recess. Planned from the start, these disappear into the rhythm of the panels.
You can see panelling, libraries and concealed joinery across our case studies. If you are planning a scheme, we are always glad to look at drawings early — get in touch.
A library is one of the most satisfying things we make. It’s also one of the most misunderstood — people imagine it needs a grand house and a thousand leather-bound volumes. In practice, a fitted library is simply a room given purpose by joinery, and it can transform an underused study, snug or spare bedroom into the room everyone gravitates to.
Why a library earns its space
Floor-to-ceiling joinery does something a few freestanding bookcases never will: it makes a room feel considered and complete, and it turns dead wall into generous, ordered storage. It doesn’t have to be only books, either — the best ones absorb everything from a drinks cabinet to a hidden desk to the family’s clutter, behind beautifully proportioned fronts.
Design around more than books
Before we draw a thing, we talk about what’s actually going on the shelves. Paperbacks, art books and box files want very different shelf heights, and a library designed for one looks wrong holding another. Adjustable shelving helps, but the proportions of the bays themselves — their width and rhythm across the wall — are what make a library feel architectural rather than like a storage unit.
Proportion is everything
The difference between a library that feels right and one that feels off is almost always proportion: the relationship between the bays, the depth of the shelves, the weight of the uprights, the detail of the cornice where it meets the ceiling. We set these out carefully against the room’s windows, doors and fireplace so the whole wall reads as one calm composition.
Light it properly
Lighting is what lifts a library from handsome to special in the evening. Discreet, warm-toned lighting built into the joinery — picking out the shelves rather than glaring out at the room — makes the timber glow and the books look their best. It’s a small thing that’s far easier to do at the making stage than to add later.
Materials and making it yours
Painted, stained or natural timber, a reading ladder, a concealed jib door, a window seat folded into the run — the details are where a library becomes personal. These are the things clients remember, and the things that make a room unmistakably theirs rather than something lifted from a showroom.
A library is a long-term piece — made well, it’ll outlast the books that first fill it. If you’ve a room that could become one, our case studies show what’s possible, and you can talk to us whenever you’re ready.
If this is the sort of work you have in mind, there is more on how we approach bespoke studies, libraries and home office furniture — all of it drawn, made, hand-finished and fitted by our own people from the workshop at Mickfield in Suffolk.
“Furniture-quality” is one of those phrases that gets used a lot and explained rarely. It’s worth pinning down, because the difference between joinery that’s merely fitted and joinery made to the standard of fine furniture is mostly invisible on day one and very visible after ten years. Here’s what it actually comes down to.
It starts with what you can’t see
The carcass — the box behind the doors — is where quality is won or lost. Well-made joinery uses stable, properly jointed materials that won’t sag, twist or telegraph movement over time. Cheap cabinetry looks identical when it’s new; the difference shows up as drooping shelves and doors that stop closing flush a few years in. If you can only inspect one thing, open a drawer fully and feel how it’s built.
Solid timber and veneer, used honestly
There’s a myth that solid timber is always “better” than veneer. In truth, a good maker uses each where it belongs: solid sections where strength, edges and feel matter, and fine veneers over stable substrates for broad, calm surfaces that would crack or move if made from solid boards. What matters is that the timber is selected for grain and colour and used with intent, not whatever came off the rack.
The finish is most of the work
People underestimate how much of a fine piece is finishing. A properly hand-applied paint or polish — built up, cut back and re-coated — is what gives joinery its depth and durability. It’s slow, it’s done in controlled conditions, and it’s the first thing to suffer when a job is rushed. Run your hand across a painted door: a quality finish feels close to glass, not like a wall.
Ironmongery and the small things
Hinges, runners and handles are where daily life happens. Soft-close mechanisms, solid well-weighted ironmongery and doors that sit with consistent shadow gaps all the way round are quiet signals that someone cared. So is the way a piece deals with the building moving around it — good joinery is detailed to absorb seasonal movement rather than fight it.
Why it costs what it costs
All of the above takes time, skill and good material, which is why genuinely bespoke joinery isn’t cheap. But the right comparison isn’t with flat-pack — it’s with replacing something that was never built to last. Made well, fitted joinery becomes part of the house, mellows with age and is still serving its purpose decades later. That’s the whole point of it.
If that’s the standard you’re after, our case studies show the kind of work we mean, and we’re always glad to discuss a project.
If this is the sort of work you have in mind, there is more on how we approach bespoke studies, libraries and home office furniture — all of it drawn, made, hand-finished and fitted by our own people from the workshop at Mickfield in Suffolk.
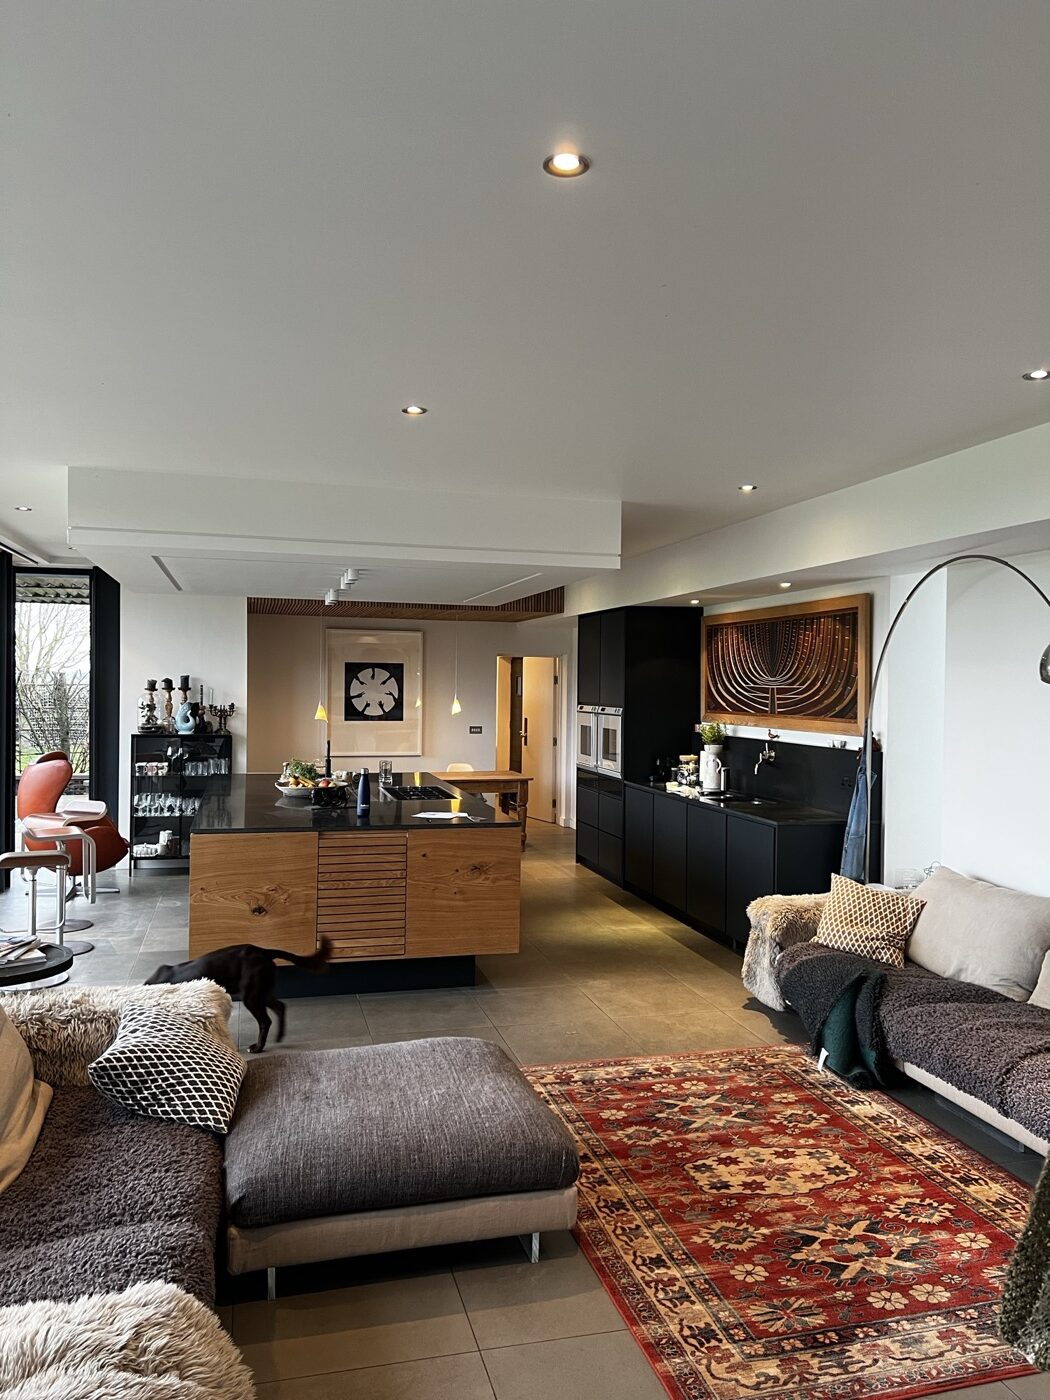
The island is the part of a kitchen everyone wants and the part most often got slightly wrong. Too big and it dominates; too small and it’s a glorified side table; badly placed and you spend your life walking around it. When we design one as part of a bespoke kitchen, we start not with how it looks but with how it’s used.
Decide what it’s for first
An island can be a preparation space, a place to sit and talk to whoever’s cooking, a home for the hob or sink, extra storage, or some combination. It rarely does all of them well at once. Be honest about which one or two matter most to you. A family that eats breakfast at the island has a different design from a couple who entertain and want a clean run of worktop to lay out food.
Get the clearances right
This is where most islands go wrong. You want roughly a metre of clear floor between the island and the runs around it — a little more on the main working side, a little less is just about liveable elsewhere. Less than that and two people can’t pass when a dishwasher or oven door is open. It’s worth taping it out on the floor before you commit; the footprint that looks generous on a plan can feel tight in the room.
If people will sit, design for it properly
Overhangs for seating need around 300mm of knee room and a comfortable stool height under the worktop. Squeeze it and no one uses the seats. We often set the seating section slightly apart from the working zone so crumbs and clutter don’t migrate into where someone’s eating.
Make the storage earn its place
An island is a wonderful storage opportunity — deep drawers for pans, a home for bins and recycling, sometimes a larder end. We plan the internals around what you actually own rather than filling it with standard units. Drawers nearly always beat cupboards here: you can see and reach everything without crouching.
Worktops: where to spend
The island worktop takes the most use and the most looking-at, so it’s the place to spend if you’re choosing where to. Stone is hard-wearing and handsome; timber is warm and forgiving but wants maintenance; the right choice depends on how you cook and how relaxed you are about a bit of patina. We’re happy to talk through the trade-offs honestly rather than steer you to whatever’s easiest to fit.
Don’t forget the services
If your island has a sink or hob, the plumbing, electrics or extraction have to come up through the floor — which means deciding its position early, while the floor is still accessible. Move an island after first-fix and you’re into real disruption. This is exactly why kitchens reward planning the boring bits first.
Every kitchen we make is designed around the people using it, not pulled from a catalogue. If you’re planning one, take a look at our recent projects or come and talk to us.
Most of the joinery we make starts on someone else’s drawing board. We work with architects and interior designers far more often than directly with homeowners, and over the years we’ve learned that the projects that run smoothly tend to share a few habits. None of them are complicated. So here, plainly, is how to get the best out of a maker like us.
Bring your joiner in earlier than feels necessary
The most common thing we hear is “I wish we’d had you in sooner.” By the time a scheme is fully detailed, a lot of decisions have quietly been made — wall build-ups, service runs, ceiling heights — that affect what’s actually buildable. Involving us at concept or early developed-design stage costs you nothing and usually saves a round of revisions. We can flag where a detail will be expensive, where a junction won’t resolve, and where a small change in setting-out makes the whole piece sit better.
A good brief is about intent, not just dimensions
We can read a drawing. What we can’t read is the bit in your head — how crisp you want a shadow gap, whether a run of cabinetry should read as furniture or as architecture, how the client actually lives. Tell us the intent and a reference image or two, and we’ll detail towards it. The more you tell us about tolerances that matter to you, the fewer surprises later.
Survey before you finalise
Buildings are rarely square, and period buildings never are. We take a measured survey and produce a full set of 3D CAD drawings before anything is cut, scribing every piece to the space. If we can survey once the structural and first-fix work is done — but before plaster — we can resolve service positions and fixings cleanly rather than chasing them on site.
Lead times, honestly
Quality joinery takes time, and it’s worth protecting that time in your programme. As a rough guide, a single statement piece might be six weeks from sign-off; a whole-house package can run to several months including survey, drawings, manufacture and installation. The making is only part of it — hand-finishing and a controlled paint or polish process can’t be rushed without it showing. Build that into the schedule early and the install becomes the easy part.
Let us look after the installation
Our site team installs our work wherever possible. It’s not territorial — it’s that the person fitting a scribed panel to an out-of-true wall should be someone who understands how it was made. It protects the finish, keeps the programme tight, and means one point of responsibility from first drawing to final fit.
On budget
We’d always rather have an honest conversation about budget early than value-engineer the soul out of a piece late. Tell us the figure you’re working to and we’ll tell you, candidly, what’s achievable and where the money is best spent. Often it’s not where people expect — a restrained scheme made beautifully will always read better than an ambitious one made to a price.
If this is the sort of work you have in mind, there is more on how we approach bespoke studies, libraries and home office furniture — all of it drawn, made, hand-finished and fitted by our own people from the workshop at Mickfield in Suffolk.
Alcove joinery looks simple because the space is already defined: two recesses, often either side of a chimney breast, waiting to become storage, shelving, display or AV housing. In practice, it is one of the details that can quietly lift or weaken an interior scheme.
For interior designers, the opportunity is not only to fill a gap. Bespoke alcove joinery can correct awkward proportions, frame a fireplace, hide services, introduce lighting, balance a room and give a client useful storage without making the space feel heavy.
At Reeve & Co, we design, draw, make and install bespoke fitted joinery from our Suffolk workshop for architects, interior designers and private clients across London, the Home Counties and East Anglia. This guide sets out what to resolve before workshop drawings begin, so alcove joinery supports the design intent rather than becoming a late-stage compromise.
Why alcove joinery deserves early specification
Alcoves are often treated as “minor joinery”, but they touch several design decisions: room symmetry, fireplace setting, storage planning, electrical coordination, decorative finishes and installation sequencing. If those items are left until after finishes are chosen, the joinery can end up forcing decisions rather than supporting them.
For designers working to a formal project structure, it helps to align joinery decisions with the wider project programme. The RIBA Plan of Work organises projects from Strategic Definition through Technical Design, Manufacturing and Construction, through to Use, giving interior designers a useful framework for managing information exchange and procurement (BIID).
The practical point is simple: by the time technical design is under way, the joinery partner should already know the design intent, finish intent and the client’s storage needs. Alcove joinery may be compact, but it still benefits from early coordination.
Start with the room, not the unit
Good alcove joinery begins with the room elevation. Before deciding door style or shelf thickness, resolve what is wanted for the room as a whole.
Key questions to settle early:
What should the fireplace wall become? A quiet architectural elevation, a library wall, a media wall, a display wall or a storage-led family room?
Should the two alcoves match? Symmetry suits formal reception rooms, but asymmetry can work where one side needs AV equipment, a desk, a drinks cabinet or additional storage.
How much visual weight is acceptable? Full-height cupboards maximise storage, while base cupboards with open shelving keep the wall lighter.
What should be hidden? Routers, speakers, AV boxes, children’s items, paperwork, logs, books and decorative objects all need different depths, shelf spacings and ventilation.
How does the joinery meet existing architecture? Skirting, cornicing, picture rails, dado rails, fireplaces and uneven plaster should be drawn into the design, not discovered during installation.
This is where a specialist joinery partner adds value for designers. A concept sketch can show the design intent and confirm the spatial relationships; the joinery partner can then turn that intention into workable dimensions, junctions and manufacturing decisions.
Survey: the detail that protects the design
Most alcove walls are not perfectly square, plumb or symmetrical. This is especially true in Victorian and Edwardian properties across London, where chimney breasts, plasterwork and old floors can vary noticeably across the elevation.
As a guide, a current London alcove joinery market guide notes that Victorian properties can vary by 20–50mm across an alcove’s width and recommends measuring each alcove at several heights rather than taking one width and assuming it applies across the whole recess (Noba & Stod).
For interior designers, the survey should capture:
Overall room dimensions and ceiling height.
Each alcove width at floor level, mid-height and near ceiling height.
Alcove depth relative to the chimney breast face.
Skirting, dado, picture rail and cornice positions.
Socket, switch, radiator, pipe, vent and AV locations.
Fireplace projection and hearth dimensions.
Wall condition, damp risk and any historic fabric constraints.
Access route, parking, floor protection and installation restrictions.
The result should be a proper elevation and plan, not just a shopping list of cabinets. Alcove joinery that is built to a proper survey rarely needs adjusting once installed.
Choosing the right configuration
There are four common approaches to bespoke alcove joinery, and each suits a different design outcome:
Configuration
Best for
Design considerations
Floating shelves only
Light-touch display, books, informal living rooms
Needs careful fixing, wall condition checks and well-proportioned shelf thickness.
Base cupboards with shelves above
Reception rooms, family rooms, studies
Good balance of hidden storage and display; works well around chimney breasts.
Full-height cupboards
Bedrooms, offices, boot rooms, compact storage areas
Maximises capacity but can feel heavy if door proportions and shadow gaps are not handled well.
Full-height library or display joinery
Formal rooms, libraries, studies
Requires detailed thinking around lighting, shelf spans, object sizes and ladder or access needs.
Market guidance for London suggests base cupboards with shelving above are one of the most common configuration choice for alcoves either side of chimney breasts (Noba & Stod). That does not mean it is always the best answer. In a high-end scheme, the correct configuration should come from the room’s use, the client’s storage needs and the designer’s intended hierarchy.
Materials and finishes: specify what the eye and hand will notice
Not every part of an alcove unit needs the same material. In many painted schemes, the best specification uses engineered material for carcasses with solid timber, tulipwood or hardwood lippings for visible edges, frames and doors.
Designers should agree:
Carcass material — often moisture-resistant MDF, birch plywood or veneered board depending on finish, budget and use.
Door construction — flat slab, shaker, raised-and-fielded, reeded, fluted, framed or veneered.
Shelf construction — solid timber, veneered board, lipped board or torsion-box construction for deeper spans.
Durability requirements — family use, rental use, display-only use or commercial-grade wear.
The British Woodworking Federation describes itself as the UK trade association for the woodworking and joinery manufacturing industry, providing technical, regulatory and specification guidance to more than 500 members and supporting good practice across the sector. For interior designers, that reinforces the importance of treating fitted joinery as a specified element, not just site carpentry.
Lighting, sockets and AV need to be designed in
Alcove joinery often becomes the point where lighting design, AV, electrical work and furniture design intersect. If those are not resolved early, cables become visible, routers overheat, sockets sit in the wrong place and shelves get drilled after fitting.
Resolve these details before manufacture:
LED shelf lighting location, colour temperature and control method.
Driver, transformer and access panel positions.
Socket and data requirements inside cupboards.
Cable routes for TVs, speakers, lamps and routers.
Ventilation for AV equipment.
Door clearance around plugs and trailing leads.
Whether the joinery needs removable backs or service access.
The best result is almost invisible. The client notices the atmosphere, not the cable route.
Listed and period properties: protect character first
Many high-end residential projects involve period houses, conservation areas or listed buildings. Alcove joinery that is fixed, chased or built against historic fabric needs careful thought, and the team should check whether any fixings, chasing, removals or alterations affect historic fabric.
Historic England advises that if you want to alter or extend a listed building in a way that affects its character as a building of special architectural or historic interest, you need to apply for Listed Building Consent from the local planning authority, and recommends checking first with the local planning authority to confirm whether consent is needed and what may be acceptable.
For interior designers, that means:
Do not assume internal work is exempt.
Avoid cutting through original mouldings, panelling or plasterwork without advice.
Design reversible junctions where possible.
Record existing details before works begin.
Allow for conservation input before finalising workshop drawings.
Reeve & Co already works on period and listed-building-sensitive projects, so the conversation should start early when a scheme includes original joinery, historic plaster, chimney pieces or unusual existing fabric.
Cost and lead-time expectations
Every project should be quoted from drawings, specification and survey information, not from a general price list. That said, designers need early budget ranges to guide clients before detailed design begins.
Recent London market guidance gives broad alcove joinery ranges of around £1,200–£6,000+ per pair, with full-wall units reaching £5,000–£8,000+ depending on complexity, materials and finish (Noba & Stod). The same guide suggests a typical total timeline of 4–8 weeks, with design and manufacture often taking 2–4 weeks and installation 1–3 days depending on method and complexity (Noba & Stod).
For high-end work, the factors that usually affect cost are:
Complexity of the room and survey.
Whether the units are workshop-made, site-built or pre-finished.
Door style, moulding profile and frame detail.
Painted, stained, veneered or specialist finish.
Lighting, AV access and concealed services.
Drawer boxes, internal fittings and ironmongery.
Matching existing architectural details.
Access, parking, protection and installation constraints.
The safest approach is to set an early budget allowance, then refine once the design intent, drawings and specification are confirmed.
What a designer should give the joinery partner
A good joinery brief does not need to be complicated. It should make the design intent clear enough for the joinery partner to advise on specification and prepare drawings, without requiring the designer to resolve every technical detail.
Useful information includes:
Design concept, moodboard or room elevation.
Site photos and any existing survey drawings.
Intended use for each cupboard, shelf and display area.
Preferred door style, finish direction and hardware language.
Paint colours, timber references or sample requirements.
Electrical, AV and lighting requirements.
Relevant heritage, listed-building or conservation constraints.
Programme, access dates and dependency on other trades.
Client expectations around budget, finish level and maintenance.
From there, the joinery partner should produce measured drawings, flag constraints, advise on materials and confirm that the design can be manufactured, finished and installed cleanly.
The Reeve & Co approach
Reeve & Co works with private clients, architects, interior designers and main contractors, designing and making bespoke fitted joinery in our Suffolk workshop before fitting on site with our site team (Reeve & Co). For interior designers, that gives one joined-up route from design intent to workshop drawings, manufacture, finishing and installation.
For alcove joinery, we can work from your design package or develop the detail with you. That might mean matching an existing period moulding, producing a quieter contemporary detail, integrating lighting or coordinating a media wall alongside study joinery.
The aim is simple: alcove joinery that looks as if it belongs to the room, performs properly for the client and supports the overall scheme.
Planning an alcove joinery package?
If you are an interior designer specifying alcove cupboards, display shelving, living-room storage, media walls or study joinery as part of a high-end residential package, Reeve & Co can help develop the detail before it reaches site.
Send drawings, photos or an outline brief to the workshop and we can advise on specification, survey requirements, programme and next steps.
If this is the sort of work you have in mind, there is more on how we approach bespoke studies, libraries and home office furniture — all of it drawn, made, hand-finished and fitted by our own people from the workshop at Mickfield in Suffolk.
Cookies on this site
We use cookies to keep the site working, and — only if you allow it — to understand how it is used. Nothing is set for measurement until you choose. You can change your mind at any time.
Functional
Always active
The technical storage or access is strictly necessary for the legitimate purpose of enabling the use of a specific service explicitly requested by the subscriber or user, or for the sole purpose of carrying out the transmission of a communication over an electronic communications network.
Preferences
The technical storage or access is necessary for the legitimate purpose of storing preferences that are not requested by the subscriber or user.
Statistics
The technical storage or access that is used exclusively for statistical purposes.The technical storage or access that is used exclusively for anonymous statistical purposes. Without a subpoena, voluntary compliance on the part of your Internet Service Provider, or additional records from a third party, information stored or retrieved for this purpose alone cannot usually be used to identify you.
Marketing
The technical storage or access is required to create user profiles to send advertising, or to track the user on a website or across several websites for similar marketing purposes.